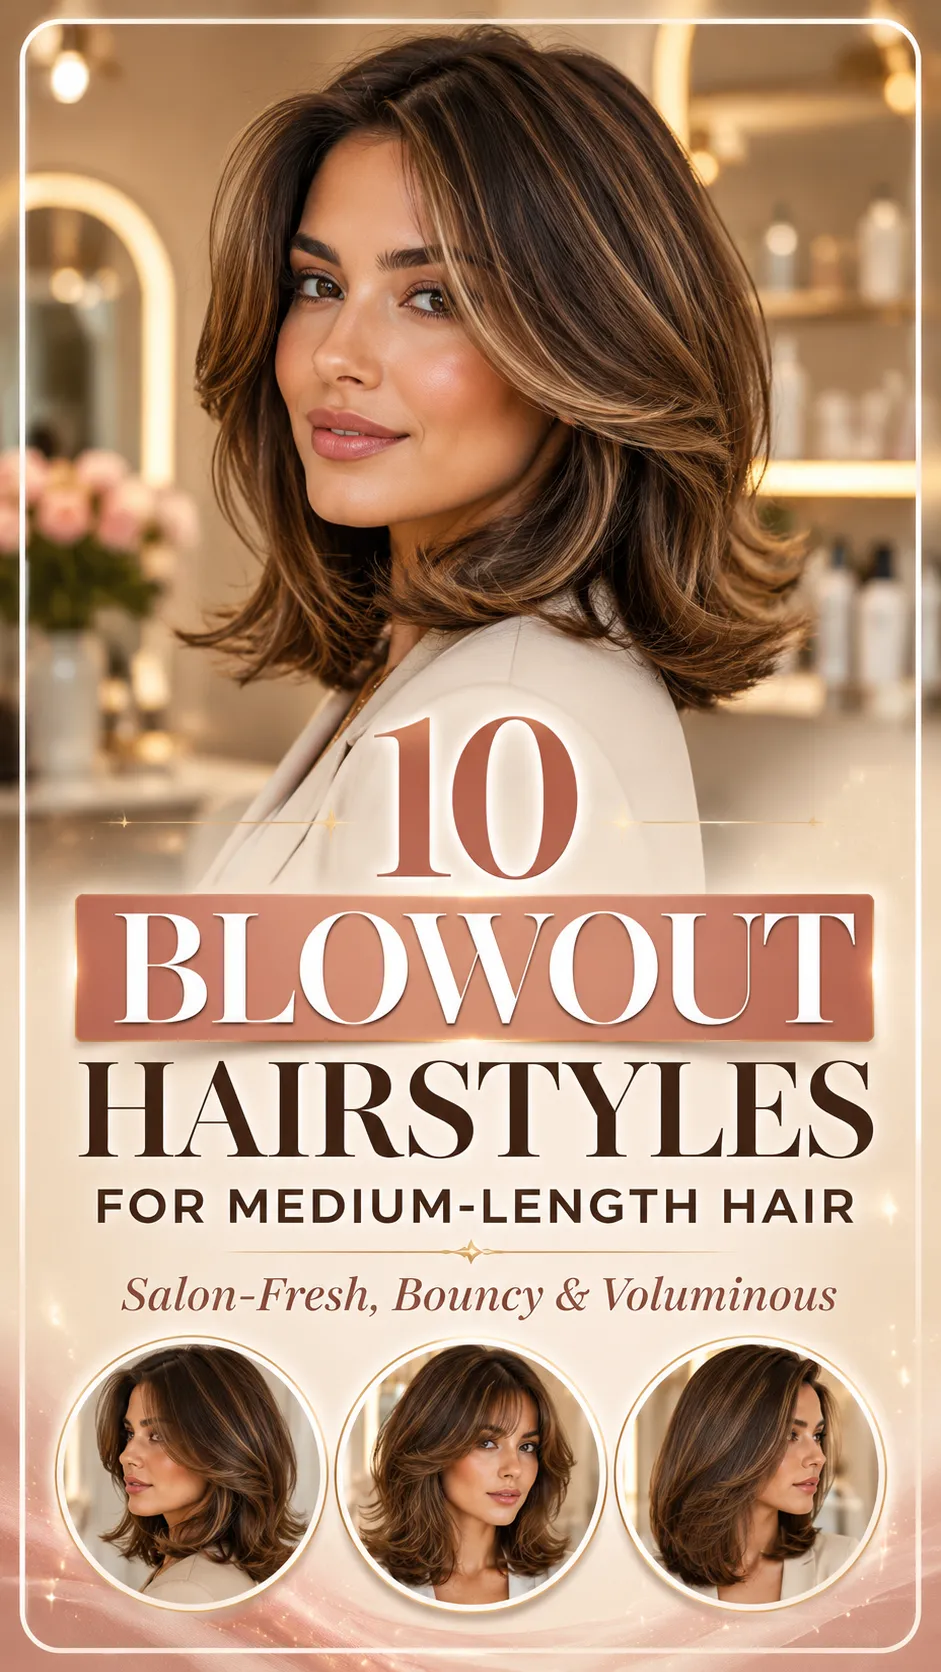
There is something undeniably confidence-boosting about a fresh blowout. The smooth texture, lifted roots, polished ends, and natural movement can make even a simple haircut look luxurious. The best part is that you do not need extremely long hair to enjoy the effect.
Medium-length hair is one of the most versatile lengths for creating a beautiful blowout. It is long enough to hold soft curls, dramatic flips, and flowing layers, yet short enough to style without spending hours in front of the mirror.
However, many people struggle to make a home blowout look as smooth and voluminous as a salon finish. The roots may fall flat, the ends can become frizzy, or the shape may disappear within a few hours. Choosing the right hairstyle, brush size, preparation products, and drying technique makes a significant difference.
This guide explores ten flattering blowout hairstyles for medium-length hair, ranging from classic bouncy looks to sleek finishes, glamorous side parts, curtain bangs, and playful flipped ends. Each idea includes practical styling tips, suitability guidance, and benefits to help you choose the most flattering option for your hair type and personal style.
Why Medium-Length Hair Is Perfect for a Blowout
Medium-length hair usually falls between the collarbone and a few inches below the shoulders. This length offers an ideal balance between manageability and styling versatility.
A blowout can enhance medium hair by:
- Adding volume to flat or fine strands
- Smoothing frizz and flyaways
- Emphasizing layers and face-framing pieces
- Creating movement without tight curls
- Giving the hair a polished, healthy-looking finish
- Making a shoulder-length haircut look fuller
- Refreshing the appearance of second-day hair
Because medium hair has less weight than very long hair, it often holds volume more effectively. It can also be shaped into inward curves, outward flips, soft waves, or a sleek straight finish depending on the brush and technique used.

Blowout Hairstyle Comparison Table
| Blowout Hairstyle | Estimated Styling Time | Difficulty | Maintenance Level | Best Feature |
|---|---|---|---|---|
| Classic Bouncy Blowout | 25–35 minutes | Medium | Medium | Soft volume and movement |
| ’90s Supermodel Blowout | 35–45 minutes | Medium to Advanced | Medium | Dramatic body and lift |
| Blowout with Curved Ends | 20–30 minutes | Easy | Low | Smooth, polished shape |
| Curtain Bangs Blowout | 25–35 minutes | Medium | Medium | Face-framing movement |
| Sleek Straight Blowout | 20–30 minutes | Easy to Medium | Low | Glossy, refined finish |
| Flipped-Out Ends Blowout | 25–35 minutes | Medium | Medium | Playful retro effect |
| Loose-Curl Blowout | 35–45 minutes | Medium | Medium | Romantic texture |
| Deep Side-Part Blowout | 30–40 minutes | Medium | Medium | Glamorous volume |
| Layered Shag Blowout | 25–40 minutes | Medium | Medium | Textured, airy movement |
| Polished Lob Blowout | 20–30 minutes | Easy | Low | Clean and sophisticated |
1. Classic Bouncy Blowout
The classic bouncy blowout is timeless for a reason. It creates smooth roots, rounded ends, and soft movement throughout the hair without producing overly defined curls.
This style typically features volume at the crown and gentle curves through the mid-lengths. The ends may turn slightly inward or alternate in direction for a more natural finish. It works beautifully with medium-length hair because the strands are long enough to create bounce without being weighed down.
Who It Suits Best
The classic blowout is especially flattering for:
- Fine or medium-density hair
- Straight or slightly wavy textures
- Shoulder-length layered cuts
- Oval, round, heart, and square face shapes
- Anyone wanting an elegant everyday hairstyle
People with thick hair can also wear this style, although dividing the hair into smaller sections will make it easier to achieve a smooth finish.
Styling Tips
Apply a lightweight heat protectant from roots to ends before styling. Add volumizing mousse near the roots if your hair tends to fall flat.
Use a medium or large round brush. Lift each section away from the scalp and direct the dryer nozzle downward along the hair shaft. Roll the ends around the brush and allow them to cool before releasing.
For longer-lasting bounce, place each warm section into a large Velcro roller or pin curl while it cools.
Benefits
- Creates a fuller appearance
- Works for casual and formal occasions
- Softens the overall haircut
- Enhances face-framing layers
- Can last for several days with proper care

2. ’90s Supermodel Blowout
The ’90s supermodel blowout is bigger, bolder, and more dramatic than the classic version. It features lifted roots, sweeping layers, rounded ends, and noticeable volume around the face.
This style is inspired by glamorous editorial hairstyles but can be adapted for everyday wear. On medium-length hair, it creates a luxurious silhouette without requiring extensions.
Who It Suits Best
This voluminous blowout works particularly well for:
- Medium to thick hair
- Layered shoulder-length cuts
- Hair with long face-framing pieces
- Oval, heart, oblong, and diamond face shapes
- Anyone who loves glamorous, statement-making hair
Fine hair can also achieve the look with root-lifting spray, lightweight mousse, and large rollers.
Styling Tips
Begin with damp hair and distribute volumizing mousse evenly. Rough-dry the roots until the hair is approximately 70% dry.
Divide the hair into sections and use a large ceramic round brush. Pull the front sections upward and away from the face to create dramatic lift. Roll each section toward the scalp and secure it in a large roller.
Allow the hair to cool completely before removing the rollers. Gently separate the sections with your fingers rather than brushing aggressively.
Benefits
- Produces dramatic salon-style volume
- Makes layered hair look more defined
- Creates a glamorous appearance for events
- Helps fine hair look thicker
- Photographs beautifully from multiple angles

3. Smooth Blowout with Curved-In Ends
A smooth blowout with curved-in ends is polished, feminine, and easy to wear. Instead of creating large waves, the hair remains mostly straight while the ends are shaped gently toward the face.
The result is a clean silhouette that highlights the jawline, collarbones, and overall structure of the haircut.
Who It Suits Best
This style is ideal for:
- Straight or slightly wavy hair
- Medium-length bobs and lobs
- Fine, medium, or thick hair
- Professional and formal settings
- People who prefer subtle volume instead of dramatic height
The inward curve can also balance angular facial features and make a blunt haircut feel softer.
Styling Tips
Use a smoothing cream or lightweight blow-dry lotion before drying. Select a medium round brush rather than an oversized one, as this provides better control over the ends.
Keep the brush underneath the section and rotate it inward as you reach the last few inches. Direct the dryer nozzle downward to reduce frizz.
Finish with a small amount of shine serum, focusing only on the mid-lengths and ends.
Benefits
- Looks polished without appearing overstyled
- Controls frizz and uneven ends
- Works well with blunt and lightly layered haircuts
- Requires less maintenance than a curled blowout
- Complements office, dinner, and formal outfits

4. Curtain Bangs Blowout
Curtain bangs can completely transform a medium-length blowout. When styled correctly, the bangs sweep away from the center of the face and blend into the surrounding layers.
This hairstyle creates softness around the cheekbones while adding movement to the front of the hair. It is especially popular because it feels relaxed, modern, and flattering.
Who It Suits Best
A curtain bangs blowout is suitable for:
- Medium-length layered hair
- Straight, wavy, or lightly curly textures
- Oval, round, square, and heart-shaped faces
- People growing out shorter bangs
- Anyone wanting face-framing volume
The length and starting point of the bangs can be adjusted according to the forehead, cheekbones, and face shape.
Styling Tips
Style the bangs before the rest of the hair because shorter pieces dry quickly. Use a medium round brush and lift the bangs forward over the forehead.
Once warm, divide them at the center and roll each side away from the face. Hold the shape briefly with cool air.
For the remaining hair, continue directing the face-framing layers backward to create a seamless, flowing effect.
Benefits
- Frames the face without heavy, straight-across bangs
- Blends beautifully with layered cuts
- Adds softness and movement
- Makes a basic blowout look more current
- Can disguise awkward stages while growing out bangs

5. Sleek Straight Blowout
A sleek straight blowout focuses on smoothness, shine, and clean lines. Unlike flat-ironed hair, it still retains a small amount of natural body at the roots and movement at the ends.
This style is sophisticated and versatile, making it an excellent choice for workdays, dinners, weddings, or minimalist fashion looks.
Who It Suits Best
The sleek blowout works well for:
- Medium-length blunt cuts
- Fine, medium, or thick hair
- Straight, wavy, or frizz-prone textures
- Oval, round, square, and heart-shaped faces
- Anyone who prefers a refined, low-volume finish
Very curly hair may require additional tension and smaller sections to create a smooth result.
Styling Tips
Apply a smoothing heat protectant and divide the hair into narrow sections. Use a paddle brush or large round brush, depending on how much root movement you want.
Keep the dryer nozzle aligned with the brush and move both tools together from roots to ends. Avoid repeatedly passing hot air over the same section.
Finish with the dryer’s cool setting to help smooth the cuticle. Use only a drop or two of serum so the hair remains light and touchable.
Benefits
- Creates a glossy, professional appearance
- Reduces visible frizz
- Highlights the precision of a lob or blunt haircut
- Pairs well with minimalist outfits
- Easy to refresh with a brush and dry shampoo

6. Flipped-Out Ends Blowout
The flipped-out blowout gives medium-length hair a playful retro-inspired shape. The roots and mid-lengths remain smooth, while the ends curve outward rather than inward.
The flip can be subtle for everyday wear or more dramatic for a fashion-forward finish. It works particularly well when the hair rests around the shoulders because the length naturally supports the outward movement.
Who It Suits Best
This hairstyle is flattering for:
- Collarbone-length hair
- Blunt, layered, or lightly feathered cuts
- Straight and wavy textures
- Oval, heart, and oblong face shapes
- Anyone who enjoys retro or playful hairstyles
It is also useful for hair that naturally turns outward at the shoulders.
Styling Tips
Blow-dry the roots and mid-lengths smoothly. When you reach the ends, place the round brush above the hair section and rotate it outward.
Use medium heat to shape the flip, then hold the brush in place while the hair cools. A light mist of flexible hairspray can help maintain the curve without making the ends stiff.
Try alternating subtle flips in the layers for a softer, less uniform effect.
Benefits
- Turns naturally flipping ends into an intentional style
- Adds personality to a simple haircut
- Makes shoulder-length hair look lively
- Works well for parties and social events
- Provides shape without creating full curls

7. Blowout with Soft Loose Curls
A blowout with loose curls combines the smoothness of blow-dried hair with the romance of soft waves. The curls are larger and less structured than traditional curling-iron curls, creating a relaxed, touchable finish.
This hairstyle is ideal when you want more texture than a classic blowout but still prefer a polished appearance.
Who It Suits Best
The loose-curl blowout is excellent for:
- Medium-length layered hair
- Fine to thick hair
- Straight or naturally wavy textures
- Oval, square, heart, and oblong face shapes
- Date nights, parties, weddings, and special occasions
Fine hair may benefit from a texturizing spray to give the curls more grip.
Styling Tips
Use a medium round brush and wrap each section around it as you dry. Twist the brush slowly while pulling it through the hair.
After releasing each section, wrap it around two fingers and secure it with a clip until completely cool. This helps create a stronger curl shape without relying entirely on a curling iron.
Once all sections have cooled, remove the clips and separate the curls gently with your fingers.
Benefits
- Adds romantic movement
- Makes medium hair appear fuller
- Softens strong facial features
- Creates an event-ready finish
- Offers a natural alternative to tight curls

8. Deep Side-Part Glam Blowout
A deep side part instantly adds drama to a medium-length blowout. By placing more hair on one side, the style creates height, movement, and an elegant asymmetrical shape.
One side can remain smooth and tucked behind the ear, while the fuller side falls across the forehead in a soft wave.
Who It Suits Best
A side-part blowout works especially well for:
- Fine or medium-density hair
- Layered lobs
- Straight and wavy textures
- Round, square, oval, and heart-shaped faces
- Formal events and evening looks
The side part can visually lift the face and create the appearance of fuller hair around the crown.
Styling Tips
Create the part while the hair is still damp. Apply root-lifting spray along the fuller side.
Direct the roots in the opposite direction of the final part while drying. Once dry, flip the hair back into place. This simple technique creates extra lift.
Use a large round brush to shape the front section away from the face. Tuck the lighter side behind the ear for a polished contrast.
Benefits
- Adds instant glamour
- Creates the illusion of thicker hair
- Provides lift without teasing
- Helps balance round or square face shapes
- Looks elegant in photographs

9. Layered Shag Blowout
The layered shag blowout is airy, textured, and intentionally relaxed. It highlights shorter crown layers, feathered ends, and face-framing pieces rather than creating one smooth, uniform shape.
This style is ideal for anyone who prefers movement and personality over a perfectly controlled finish.
Who It Suits Best
The shag blowout is best for:
- Medium-length hair with noticeable layers
- Straight, wavy, or lightly curly textures
- Fine hair needing movement
- Thick hair needing shape and weight removal
- Oval, square, round, and heart-shaped faces
It works particularly well with curtain bangs or long wispy fringe.
Styling Tips
Apply volumizing mousse at the roots and a lightweight styling cream through the ends. Rough-dry the hair while lifting the roots with your fingers.
Use a small or medium round brush on the shorter layers. Direct some pieces inward and others outward to create separation.
Avoid using too much oil or serum, as heavy products may flatten the textured shape. Finish with a light dry-texture spray.
Benefits
- Emphasizes layers and feathered ends
- Creates volume without looking overly polished
- Gives fine hair a fuller appearance
- Makes thick hair feel lighter
- Works well with casual and edgy fashion styles

10. Polished Lob Blowout
The polished lob blowout is clean, modern, and effortlessly sophisticated. It is designed for a long bob that falls between the shoulders and collarbones.
The hair remains smooth with subtle root lift and a gentle bend through the ends. The result is structured enough for professional settings but soft enough for everyday wear.
Who It Suits Best
This hairstyle is ideal for:
- Blunt or lightly layered lobs
- Straight and wavy hair
- Fine to thick textures
- Oval, square, round, and heart-shaped faces
- People seeking an easy, polished hairstyle
It is particularly flattering when the front pieces are slightly longer than the back.
Styling Tips
Use a large round brush for a soft bend or a paddle brush for a straighter finish. Work in sections beginning at the nape.
Keep the roots lifted slightly, but avoid creating excessive crown volume. Shape the ends inward or leave them softly straight depending on the haircut.
Apply a small amount of lightweight finishing cream to define the outline and reduce flyaways.
Benefits
- Highlights the structure of a lob haircut
- Looks appropriate for almost any occasion
- Requires minimal daily maintenance
- Creates a neat, healthy-looking finish
- Transitions easily from daytime to evening

How to Create a Long-Lasting Blowout at Home
A successful blowout begins before you pick up the dryer. Preparation affects the smoothness, volume, and longevity of the finished hairstyle.
Step 1: Start with Properly Cleansed Hair
Use a shampoo that matches your hair type. Fine hair may benefit from a lightweight volumizing formula, while dry or coarse hair may need a moisturizing cleanser.
Apply conditioner mainly to the mid-lengths and ends. Heavy conditioner near the roots can reduce volume.
Step 2: Remove Excess Water
Gently squeeze the hair with a microfiber towel or soft cotton T-shirt. Avoid aggressive rubbing because it can create tangles, frizz, and breakage.
Hair should be damp rather than dripping wet before blow-drying begins.
Step 3: Apply Heat Protection
Distribute a heat protectant evenly through the hair. Heat protection is important whether you use low, medium, or high heat.
Use a wide-tooth comb to spread the product and remove knots.
Step 4: Select the Right Styling Products
Choose products according to the desired finish:
- For volume: Root-lifting spray or lightweight mousse
- For smoothness: Blow-dry cream or anti-frizz lotion
- For hold: Flexible styling spray
- For texture: Lightweight texturizing spray
- For shine: A small amount of serum or finishing oil
Avoid layering too many products, especially on fine hair.
Step 5: Rough-Dry the Hair
Dry the hair until it is approximately 70% to 80% dry before using a round brush. This reduces styling time and limits unnecessary heat exposure.
Lift the roots with your fingers while directing the airflow downward.
Step 6: Work in Manageable Sections
Divide the hair into four to six sections. Smaller sections produce a smoother, longer-lasting result.
Each section should be no wider than the brush you are using.
Step 7: Use the Concentrator Nozzle
The concentrator nozzle controls airflow and directs heat along the hair shaft. Without it, air can scatter the strands and create frizz.
Keep the nozzle pointed from roots toward ends.
Step 8: Allow the Hair to Cool
Hair takes its final shape as it cools. Use the cool-shot button or leave the section wrapped around the brush briefly before releasing it.
For maximum volume, secure warm sections in rollers until the entire head has cooled.
Choosing the Right Round Brush
| Hair Goal | Recommended Brush | Expected Result |
|---|---|---|
| Tight bends and detailed shaping | Small round brush | Defined curves and stronger lift |
| General volume and movement | Medium round brush | Balanced bounce and control |
| Large, soft waves | Large round brush | Loose curves and smooth volume |
| Sleek straight finish | Paddle brush | Smooth, polished strands |
| Frizz control | Ceramic or ionic brush | Smoother surface and faster styling |
A large brush does not always create more root volume. It usually creates a softer, straighter bend. A smaller brush provides more tension and a stronger curve.
Pro Tips for a Salon-Looking Blowout
Dry the Roots First
The direction of the roots determines the overall volume. Lift the roots away from the scalp before focusing on the ends.
Direct Front Layers Away from the Face
Pulling face-framing pieces backward creates an open, flattering shape and prevents the hair from covering the features.
Use Medium Heat When Possible
The highest heat setting is not always necessary. Controlled heat, proper tension, and smaller sections often create a smoother result with less stress on the hair.
Keep the Dryer Moving
Do not hold the dryer in one place for an extended period. Move it continuously with the brush to distribute heat more evenly.
Let Every Section Cool
Releasing a section while it is still very warm may cause the shape to fall quickly. Cooling is especially important for curls, flips, and root volume.
Protect the Style Overnight
Sleep on a silk or satin pillowcase to reduce friction. You can also gather the hair into a loose high ponytail using a soft scrunchie.
Refresh Strategically
Apply dry shampoo to the roots before they become visibly oily. Use a round brush and a brief burst of warm air to refresh flattened front sections.
Common Blowout Mistakes to Avoid
Styling Hair While It Is Too Wet
Starting with soaking-wet hair increases drying time and makes it harder to control the brush. Rough-dry first.
Skipping Heat Protectant
Repeated heat exposure can leave hair dry and brittle. Apply heat protectant every time you use heated styling tools.
Using Sections That Are Too Large
Large sections may remain damp underneath and rarely achieve enough tension. Smaller sections produce a smoother result.
Pointing the Dryer Upward
Upward airflow can disturb the cuticle and increase frizz. Direct the nozzle downward from roots to ends.
Applying Too Much Product
Excessive mousse, oil, or styling cream can make medium-length hair heavy and flat. Begin with a small amount and add more only when necessary.
Using the Wrong Brush Size
An oversized brush may not provide enough control for short layers or bangs. Use a smaller brush for detailed areas and a larger one for the main lengths.
Brushing Out the Style Too Soon
Allow the hair to cool before combing or separating it. Brushing warm hair can remove the shape immediately.
Overloading the Ends with Oil
Finishing oil can add shine, but too much may cause the ends to separate or appear greasy. Use one or two drops and apply lightly.
How to Choose the Best Blowout for Your Hair Type
Fine Hair
Choose styles that prioritize root lift and airy movement, such as the classic bouncy blowout, side-part blowout, or ’90s supermodel style.
Use lightweight products and avoid heavy oils.
Thick Hair
A sleek blowout, polished lob, or curved-end style can control volume while creating a smooth shape.
Work with smaller sections and ensure each area is completely dry.
Wavy Hair
Natural waves provide excellent texture for loose-curl, shag, and curtain-bang blowouts. Use a smoothing product where needed without eliminating all natural movement.
Curly Hair
Begin with well-moisturized hair and use strong but controlled brush tension. A smoothing blowout cream can help create an even finish.
Avoid repeatedly passing over the same section with excessive heat.
Frizz-Prone Hair
Use a concentrator nozzle, work in small sections, and direct the airflow downward. Finish with cool air and a lightweight anti-humidity product.
Frequently Asked Questions
What is the best blowout hairstyle for medium-length hair?
The classic bouncy blowout is one of the most versatile choices for medium-length hair. It adds volume, smooths the surface, and creates soft movement without requiring highly defined curls. Curtain-bang and polished-lob blowouts are also flattering options.
How long does a blowout last on medium-length hair?
A blowout may last approximately two to four days, depending on hair texture, weather, product use, scalp oil production, and sleeping habits. Dry shampoo, a satin pillowcase, and minimal moisture exposure can help preserve the style.
Can fine medium-length hair hold a blowout?
Yes. Fine hair can hold a blowout when lightweight volumizing products, proper root direction, and cooling techniques are used. Large rollers can also help maintain volume without adding excessive product.
How do I stop my blowout from becoming frizzy?
Remove excess moisture before styling, apply heat protectant, use a concentrator nozzle, and direct airflow down the hair shaft. Make sure every section is completely dry because remaining moisture can contribute to frizz.
Can I create a blowout without a round brush?
Yes. A paddle brush can create a sleek straight blowout, while hot-air brushes can simplify the styling process. However, a traditional round brush usually provides greater control over volume, curls, and flipped ends.
Final Thoughts
The right blowout can make medium-length hair look fuller, smoother, and more intentionally styled. Whether you love dramatic ’90s volume, soft curtain bangs, loose curls, playful flipped ends, or a sleek polished lob, there is a blowout technique that can complement your haircut and daily routine.
Start with proper preparation, use manageable sections, direct the airflow carefully, and allow each section to cool before finishing. These small adjustments can make the difference between a style that falls flat within an hour and one that remains bouncy for several days.
Leave a Reply